Today’s Liter of Light post is actually an easy little science project to make with your kids at home or in a classroom setting. It’s simple, inexpensive and quick. It’s neither dangerous nor messy and most importantly it works! We decided to do test out this project when we were living in Johannesburg, South Africa. It was a relevant project that the kids enjoyed because we had been experiencing rolling blackouts or power cuts called load-shedding. Also, in Johannesburg sunshine is plentiful, even though the power supply is not always.
What is a Liter of Light?
The Liter of Light is the brainchild of Brazilian, Alfredo Moser. In a nutshell a litre of light is a solar “lightbulb” made with a few basic materials; a large clean empty plastic bottle, a couple of capfuls of bleach, filtered water, sealant to keep the bottle airtight and a square of corrugated iron. Once installed on a roof top, sunlight reflects through the bottle to provide light equivalent to approximately 50 watts during the day.
Moses’s lightbulb moment has provided rays of light to plenty of people living in windowless slums and townships across the globe. It something could be really useful here in South Africa, so I figured it would be a fun AND practical project to test with the kids. I also figured it was so simple that even a science dummy could make one.
How to build a homemade Liter of Light Science Project
Kids you’re going to love this and so are your parents and teachers.
This is going to make such a nice change from building a volcano or constructing a mini interplanetary system. It’s also an experiment based on a something that has improved the lives of many people.
We scaled back on the materials to make this a kid friendly version just for you. We decided we we didn’t need the bleach. It’s a dangerous thing for small hands to work with. In a real liter of light, its purpose is to stop the water clouding or going mouldy when the ‘bulb’ (i.e. the water bottle) is a permanent fixture.
You’re not going to install yours on a real rooftop, so we figured we could skip this step.
Materials, Here’s what you’ll need
- An empty cereal box (any box will do, shoe box, packing box)
- Bottled water 75l bought at the supermarket (and still sealed).
- Sticky Tape
- Scissors and a Pen

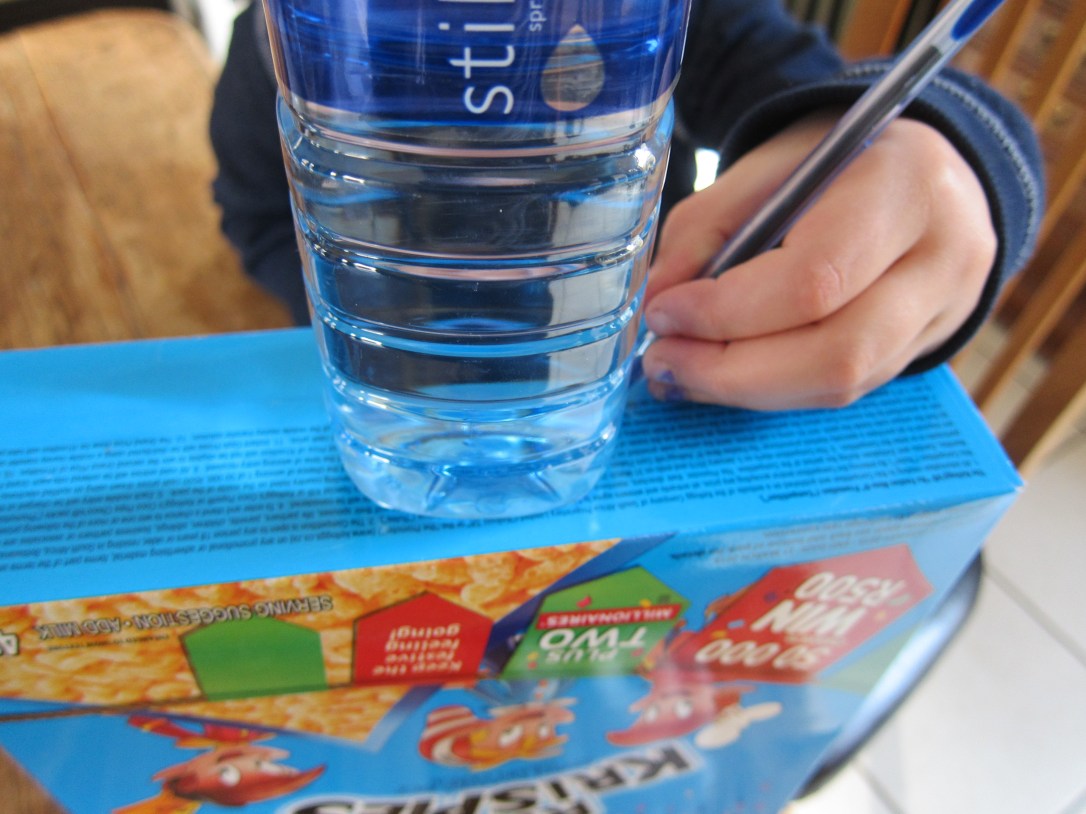
Step 1
First we turned the box upside down and drew around the bottom of the bottle on the sealed end of the box.

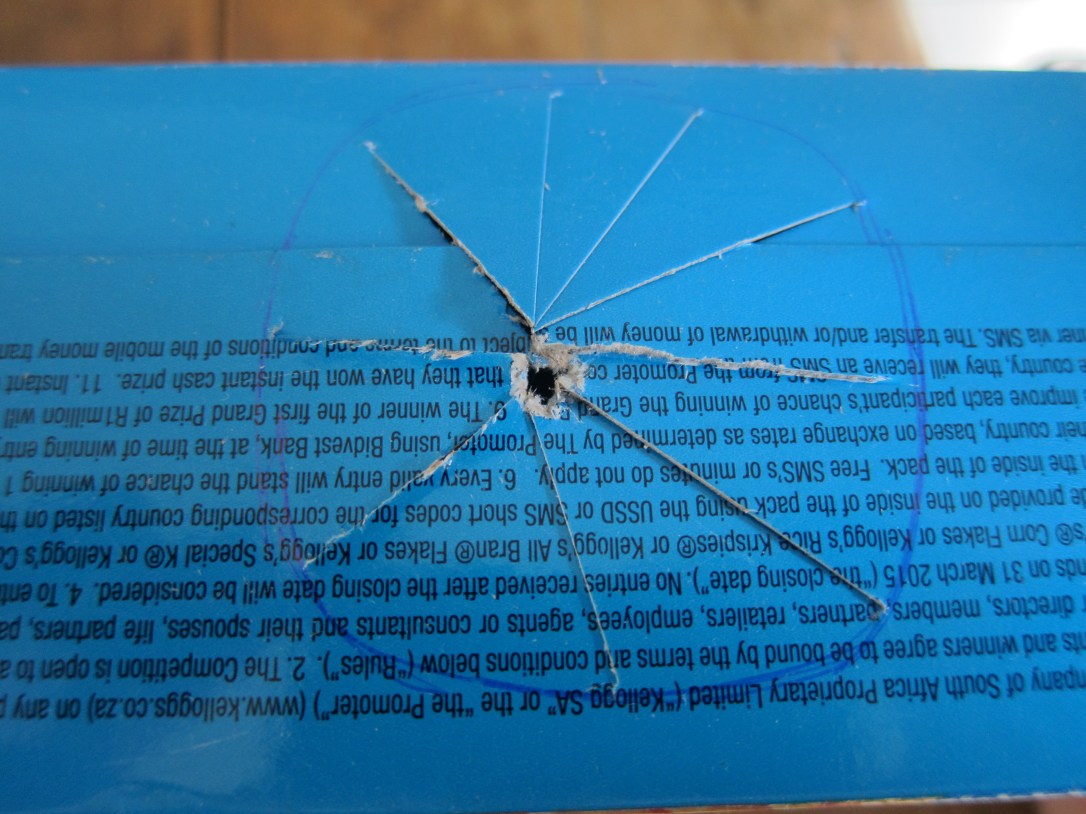
Step 2
Using the scissors, we skewered a hole in the middle of the circle and cut strips from the centre to edge of the circle.
 Step 3
We pushed the bottle from the inside of the box and secured it (badly) with sticky tape.
On the side of the box we skewered a peep hole.

Step 4 Let there be a Liter of Light:
We took the box outside in the sun and peeped. If you look carefully you can see the wording on the inside of the box.

The kids were massively impressed (and so was I). We made a second version with a clear plastic bottle (the first one was blue), a much thicker cardboard box and put tin foil on the top to mimic the corrugated iron used on the real deal version (not sure if it’s supposed to reflect more light or just sit well on a corrugated rooftop on a shack). Either way, the light seemed to shine more brightly.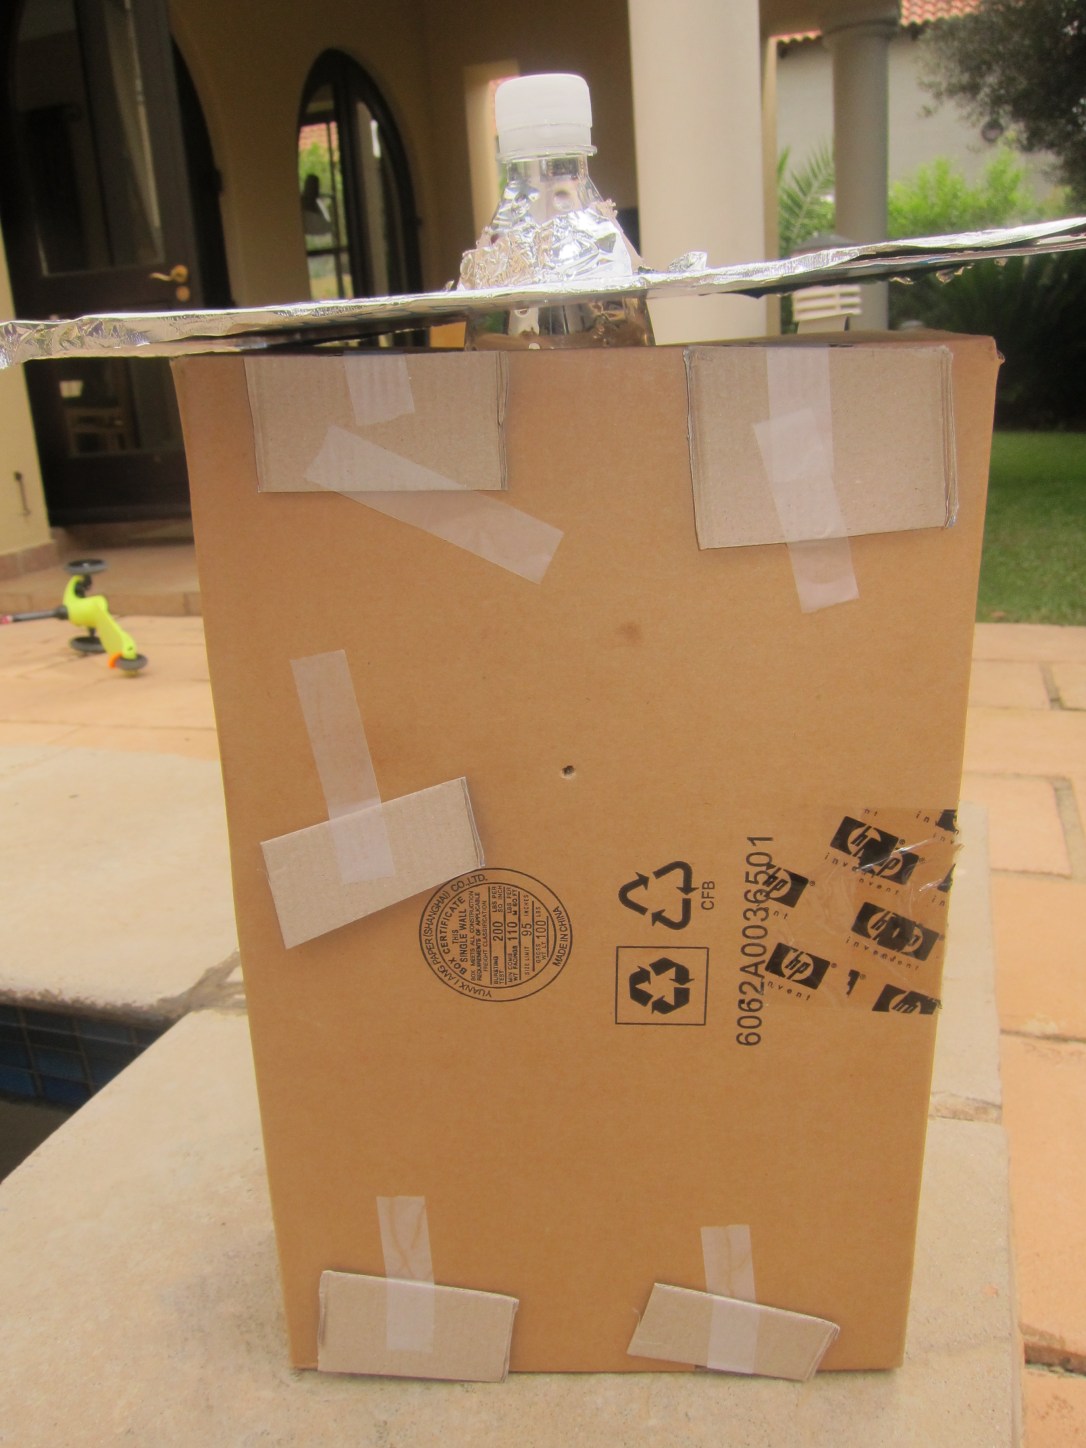

To see how to make the bells and whistles real deal version of the liter of light for your shed, shack or extra credit school project, click here for detailed instructions.
You’re welcome.
